
Green Witch Makeup Tutorial
3rd Oct 2018
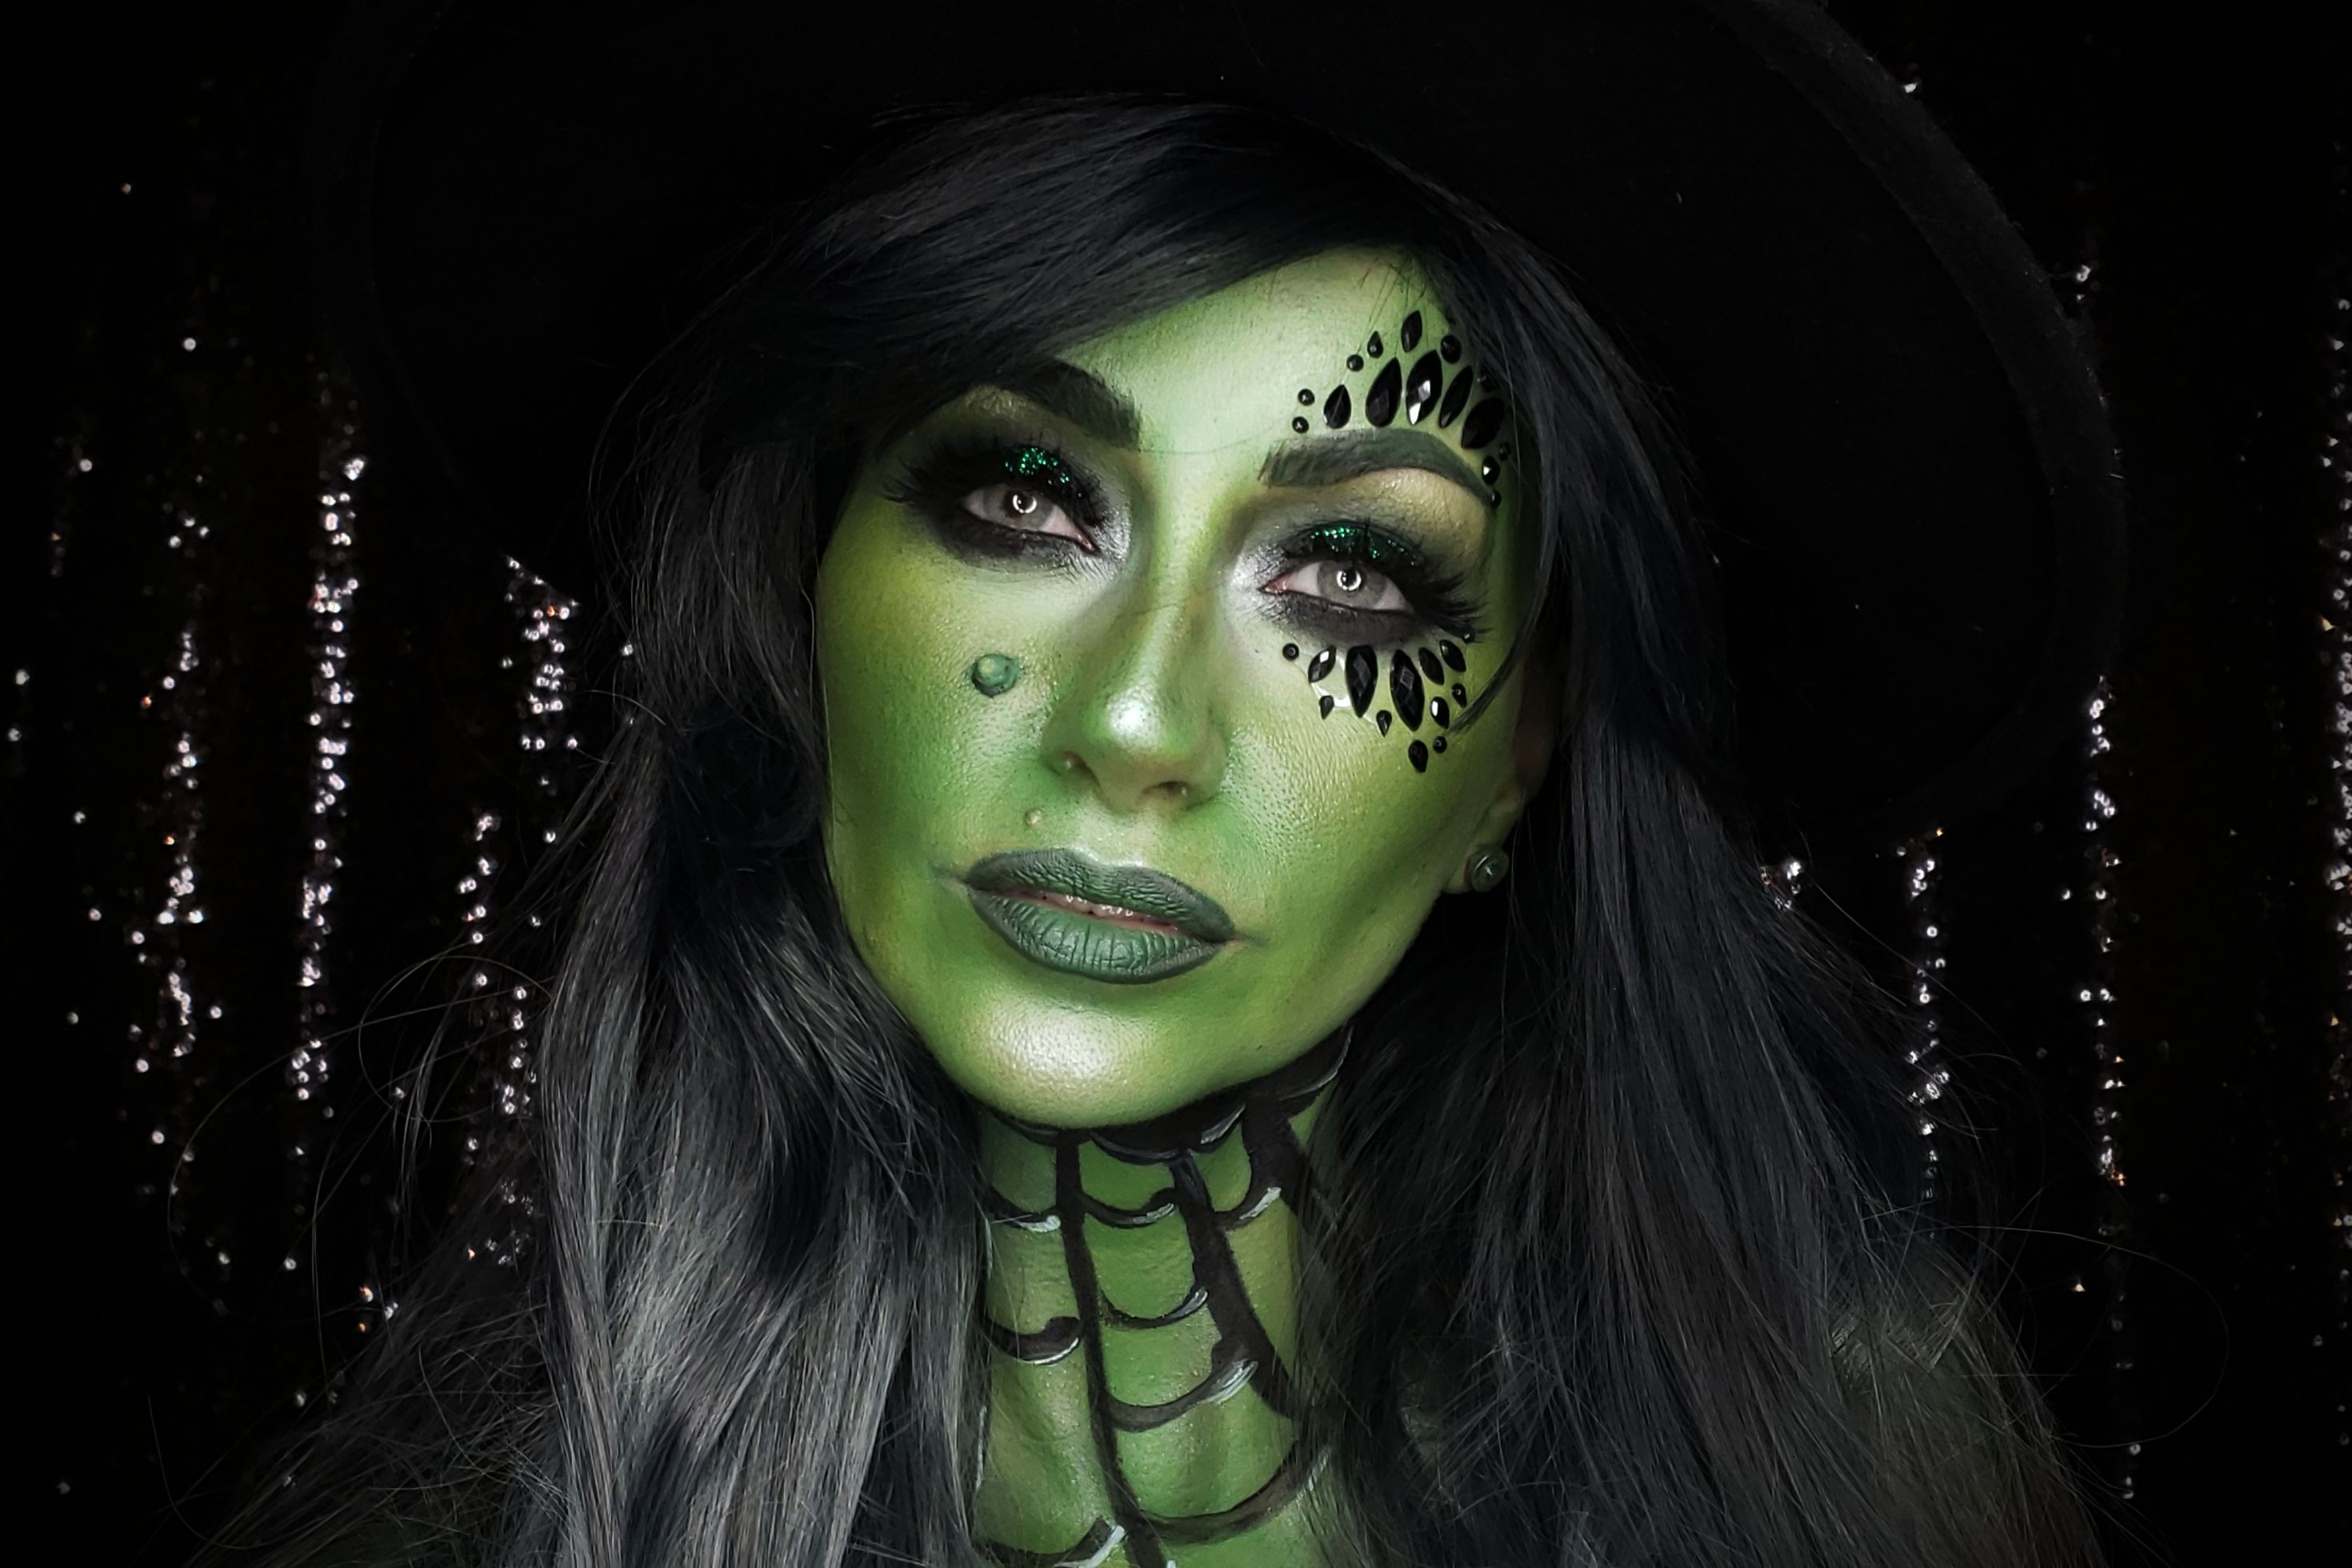
We are kicking off the Halloween season with a wickedly fabulous Green Witch Makeup Tutorial by Beauty in the Shadows. This modern take on a classic look was created with all Mehron products. Watch the video below to see how transform yourself into the iconic villain. Step-by-step directions are included beneath the video for your easy reference.
Green Witch Step-by-Step Directions
1. Apply Green CreamBlend Stick over face, including eyes, and blend with a brush.
2. Follow with a coat of Paradise Makeup AQ in Dark Green, again blending with a brush, applying to the face and neck.
3. Brighten under the eye area and highlight around the jaw line and along the cupid's bow with CreamBlend Stick in Eurasia Ivory.
4. Set everything you have applied so far with Translucent Celebré Pro HD Mineral Finishing Powder.
5. Contour the cheekbones, as well as tip and bridge of nose, with iNtense Pro Pressed Pigments in Mountain Moss.
6. Highlight the cheekbones with iNtense Pro in Electric Green.
7. Draw on/fill in the eyebrows with the Dark Green Paradise Makeup AQ.
8. Apply iNtense Pro in Mountain Moss over the eyelids blending up into the crease. Then layer iNtense Pro in Carbon over the lid, blending out and down under the lower lash line.
9. Line the lower water line with Black E.Y.E Liner Pencil.
10. Follow with Brazen Mascara.
11. Using Black Paradise Makeup AQ, draw lines down the neck, across the collarbone, into the chest area, then connect them to create a web. Highlight with White Paradise Makeup AQ.
12. Dab AdGem to the eyelids, then apply Green Paradise Glitter.
13. Apply the wart from the Mehron Witch Character Kit using AdGem, then cover the wart with the Dark Green Paradise Makeup AQ.
14. Fill in the lips with Dark Green and Black Paradise Makeup AQ.
15. Complete the look with Gypsy Shrine Jewels in Black Night around the eye.
If you recreate this look, share it with us on Instagram!